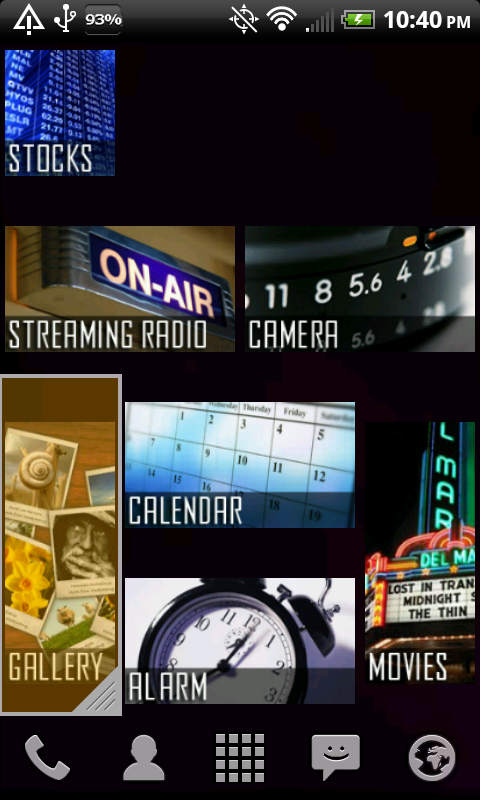
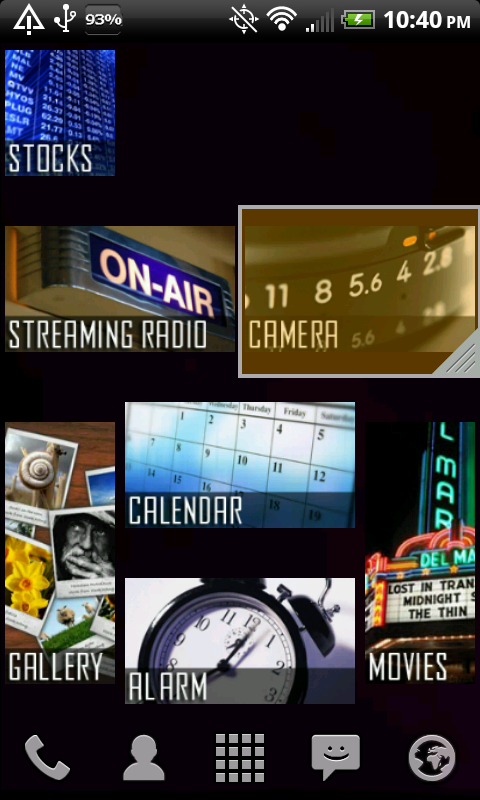
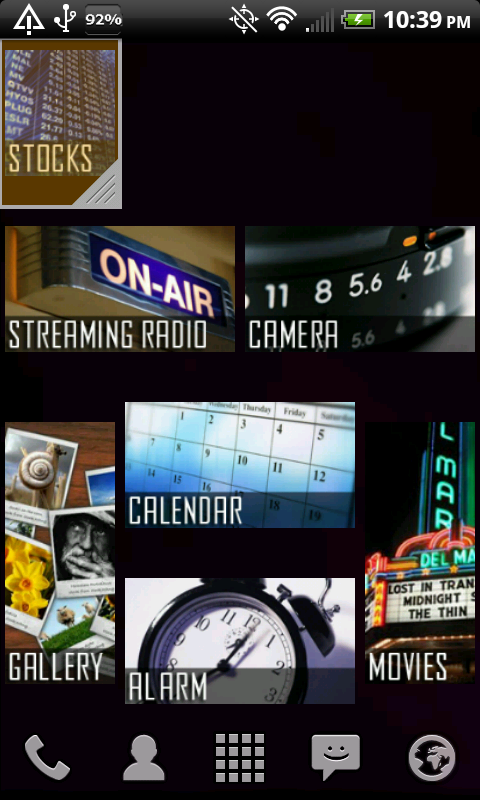
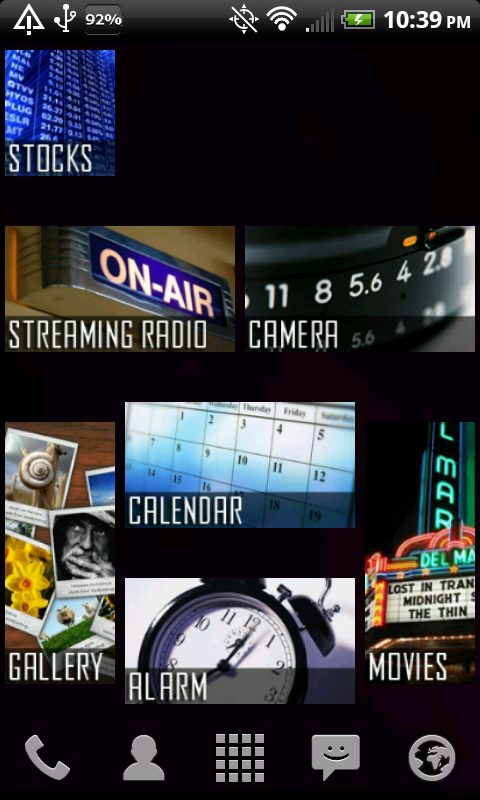
Following are the steps taken to create the gray boxes and adding text to the images using Photoshop. With my brief experience with GIMP, the process seems similar.

1. Start with your blank canvas the dimensions and resolution that you need for the widget size you are going to use. (Alternative: crop the image you wish to use to the dimensions as explained in the beginning of this thread).

2. Create the box by selecting the rectangle tool, using the drop-down box from the Options Bar, select "Fixed Size" and enter the exact dimensions of the box you wish to draw.

3. Select the color for your box by clicking "Color" in the Options Bar. You don't have to use black, but just make sure that it will be a good contrast to whatever text color you choose.

4. Click anywhere on the canvas and the box will appear at the correct dimensions. Use the "Move" tool to position it in place (if you want it along one of the edges, make sure you have the "Snap" turned on... under View->Snap).

5. Select the "Type" tool (Text tool), click on the canvas, and enter your text. Depending on your font, you will have to adjust the point size (perhaps the tracking or kerning as well). Using the "Move" tool, position the text to your liking within the rectangle (if you are trying to copy my original widget images, I had the text set 5-pixels -use the arrow keys- from the left edge).

6. On the Layers Palette, select the "fx" button at the bottom, then select "Drop Shadow". Adjust to your liking but, again, if you are copying the style of my original icons, here is a shot of the settings I used:

Also, here is a zip with the full-res screen captures of the process (without the highlighter):
View attachment Photoshop Image Label Tutorial Images.zip
Hope this helps. If anyone has any other questions, please feel free to ask.


