insanelycool
Well-Known Member
I have gotten an app2sd type solution to work for this phone, which sorely needs it.
YOU NEED ROOT TO DO THIS!
Also, if you are on Victorious ROM, you should only need Method 2 (Symbolic link for google play music cache), and possibly Foldermount from method 3 (if necessary). At the time of this writing Victorious ROM includes native External2Internal and Link2SD (but you will need to follow the setup instructions for link2sd, just skip step 10!)
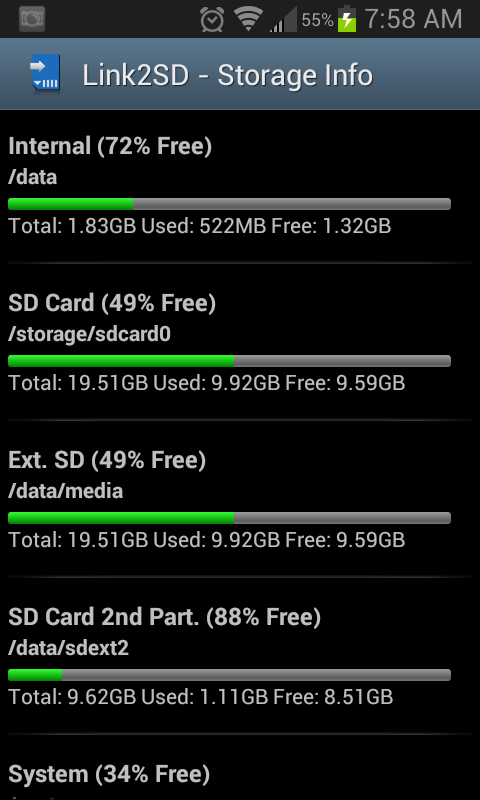
Starting with the obvious the storage space on this phone is lacking, but with the solutions here I have managed to install everything I want onto the phone and still have over 1GB of space left on the internal sdcard partition and over 1GB on the internal data partition as well... for the sake of being thorough (for anyone interested in space on all my partitions) I also have 312MB free on the system partition and 475MB free on the cache partition… enough with the numbers; onto the space saving solutions!
There are 3 different methods that you can combine in order to free up space on this phone. You can skip the second one if you don’t use Google Play Music, or don’t want to bother with symbolic links (the paid version of FolderMount will work as well using mounting instead of linking), but I recommend applying all 3 methods as they are all able to accomplish your goal of saving space using the most efficient methods that I have found. Feel free to suggest any corrections or methods that you have discovered!
Quick links to posts for each solution: (For best results combine them all!)
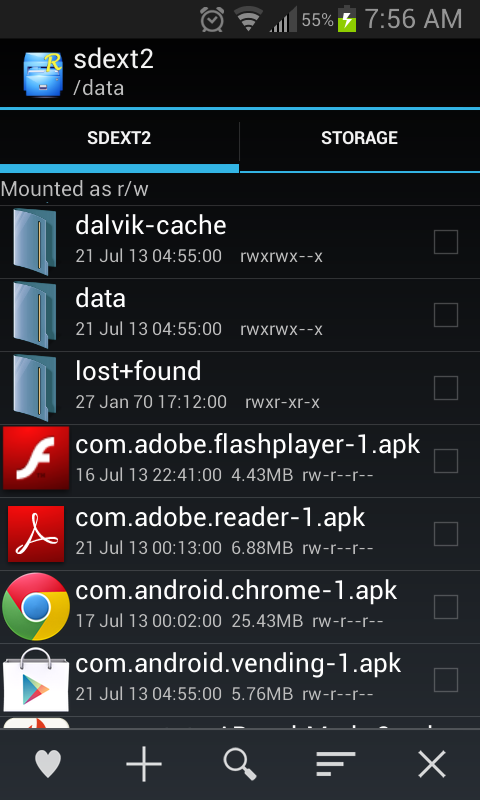
1. Link2SD (links apk, dalvik-cache, and library files of specified apps)
2. Google Play Music to FAT32 storage (only needed if using Google Play Music)
3. - Root External 2 Internal SD (Swaps internal and external)! & FolderMount (move game files to the external card)
YOU NEED ROOT TO DO THIS!
Also, if you are on Victorious ROM, you should only need Method 2 (Symbolic link for google play music cache), and possibly Foldermount from method 3 (if necessary). At the time of this writing Victorious ROM includes native External2Internal and Link2SD (but you will need to follow the setup instructions for link2sd, just skip step 10!)
Starting with the obvious the storage space on this phone is lacking, but with the solutions here I have managed to install everything I want onto the phone and still have over 1GB of space left on the internal sdcard partition and over 1GB on the internal data partition as well... for the sake of being thorough (for anyone interested in space on all my partitions) I also have 312MB free on the system partition and 475MB free on the cache partition… enough with the numbers; onto the space saving solutions!
There are 3 different methods that you can combine in order to free up space on this phone. You can skip the second one if you don’t use Google Play Music, or don’t want to bother with symbolic links (the paid version of FolderMount will work as well using mounting instead of linking), but I recommend applying all 3 methods as they are all able to accomplish your goal of saving space using the most efficient methods that I have found. Feel free to suggest any corrections or methods that you have discovered!
Quick links to posts for each solution: (For best results combine them all!)
1. Link2SD (links apk, dalvik-cache, and library files of specified apps)
2. Google Play Music to FAT32 storage (only needed if using Google Play Music)
3. - Root External 2 Internal SD (Swaps internal and external)! & FolderMount (move game files to the external card)
")
")