ccapasso
Android Expert
Several people asked how to make a clear custom lockscreen, so here is my guide on how to do it.
***ATTENTION***
This is only for 1.5 ROM customization. It will NOT work on 2.0, or 2.1. Haven't tested it on 1.6 so I can't say for sure. For now, we will state that this is only for 1.5 ROM's.
***ATTENTION***
Tools/Files needed:
1. Photoshop or similar photo editing program. The files we edit/create will be in png format and if you want them to be clear or semi clear, you need to be able to change the opacity of them.
2. 7zip which can be obtained here
3. Pre-Kitchen which can be obtained here
4. HtcLockScreen.apk. Instead of having you pull your file, I have supplied one for you to download here. Make sure when you save this file, it saves as an .apk, do not let your system rename it to something else.
(Here is another link for those having problems downloading [thanks brian m for uploading elsewhere]) HtcLockScreen.apk
5. lockscreen_topedge.png. I have this hosted here for you. It is in a zip file, just extract it to your desktop.
(Here is another link for those having problems downloading [thanks brian m for uploading elsewhere]) lockscreen_topedge.zip
6. You will also need JDK installed on your computer. You can download it here.
Now for the good stuff, how to actually do this.
Step 1:
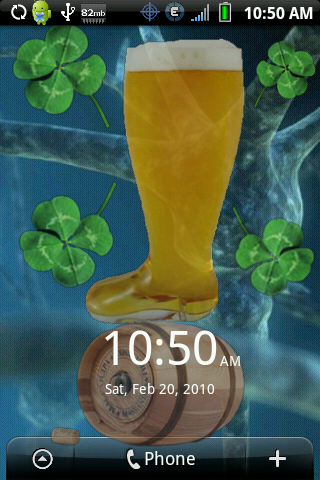
Open lockscreen_topedge.png (which is inside the zip filed) in Photoshop or whatever program you are using. The gray square box that you see is where the clock is placed on the screen. I haven’t figured out how to edit and/or remove the clock yet, so consider this a placeholder if you will. Kind of like a guide for how your image will line up. Create your LockScreen however you want. DO NOT RESIZE THIS IMAGE, DO NOT CREATE OUTSIDE OF IT, STAY WITHIN THE BOUNDARIES OF THE TEMPLATE") . I am not going to go into details of how to use Photoshop, that is on you. However, if you want your LockScreen to be semi-transparent at all, make sure you change the opacity of the image in Photoshop. When finished, be sure to save your image as the name of the template, which is lockscreen_topedge.png. Do NOT change it for any reason.
. I am not going to go into details of how to use Photoshop, that is on you. However, if you want your LockScreen to be semi-transparent at all, make sure you change the opacity of the image in Photoshop. When finished, be sure to save your image as the name of the template, which is lockscreen_topedge.png. Do NOT change it for any reason.
Step 2:
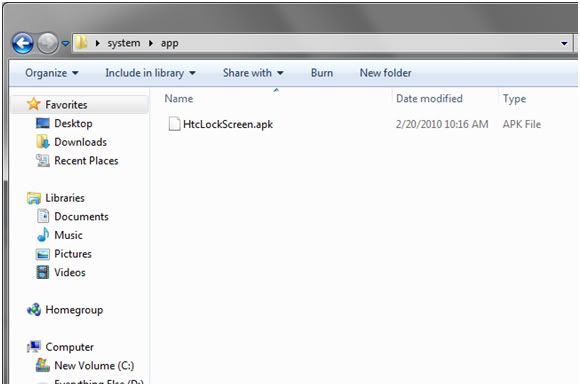
Once you have your image, create a folder on your desktop called system. Inside that folder create another folder call app. Inside the app folder please place the HtcLockScreen.apk file.
Step 3:
Right click on HtcLockScreen.apk and choose 7zip>Open Archive.

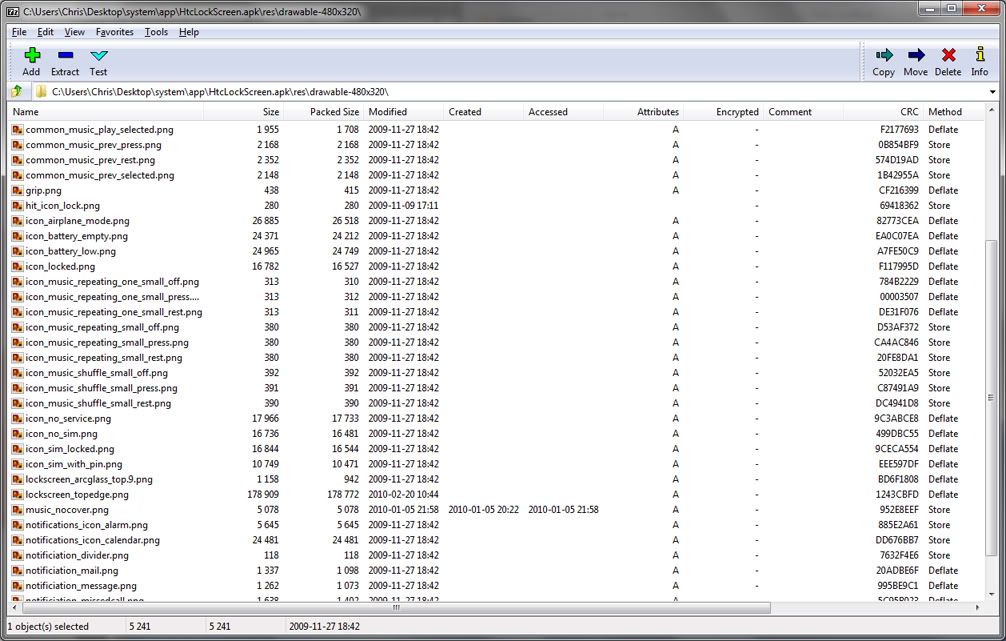
Step 4: Once that opens, please navigate to res>drawable-480x320.
Step 5:
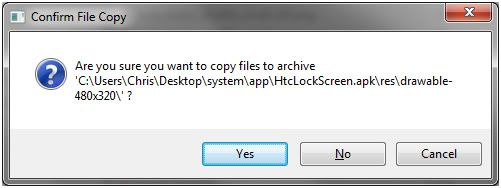
If you look at the files in there, you will see one called lockscreen_topedge.png. Simply click and drag your new image (which you saved and named lockscreen_topedge.png) into that window. You will get a prompt asking you to Confirm the File Copy. Click yes. This will overwrite the current file with yours. After you click yes, you may close the 7zip window.
Step 6:
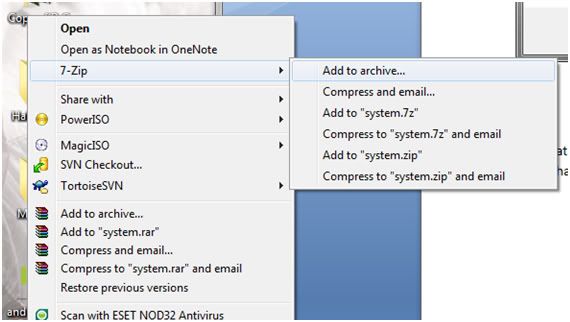
Now that we have our new image into the apk, it is time to wrap this all up. Right click on your system folder that you put on your desktop in step 2, and choose 7zip>Add to Archive
Step 7:
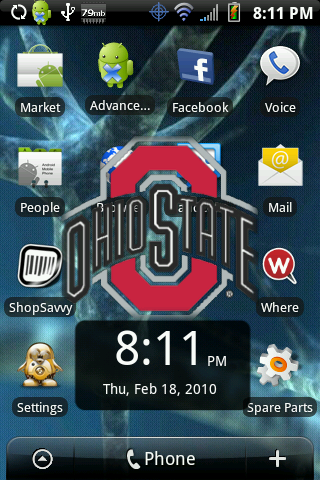
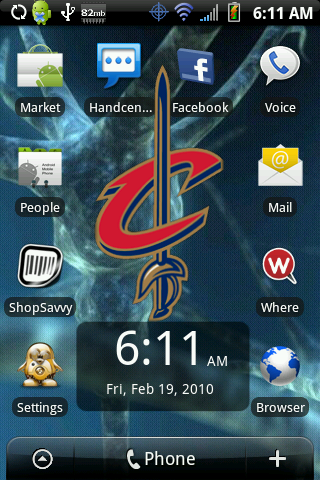
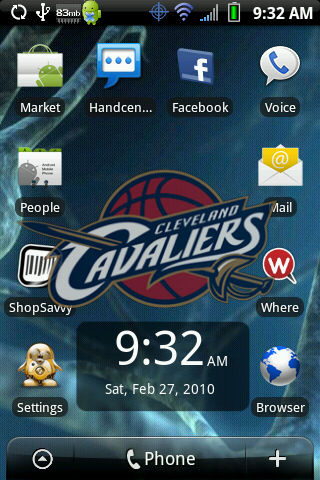
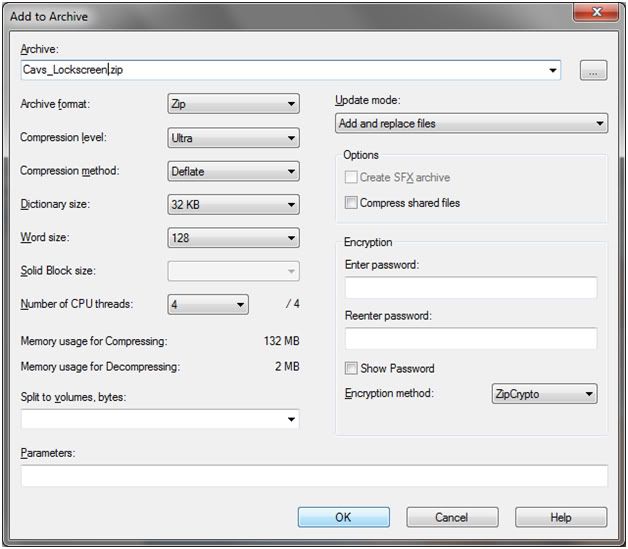
You will now get a prompt asking you to name your Archive. Name it something that is relevant to your lockscreen. For example, when I made my Cavs logo, I called it something like Cavs_Lockscreen.zip. Make sure file type says Zip, not 7z. When finished typing the name, click OK.
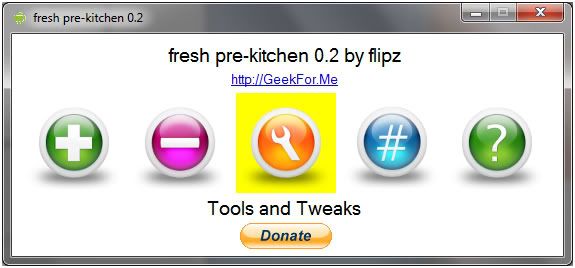
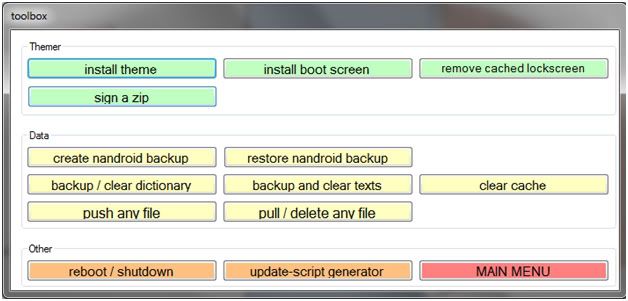
Step 8: You will now have a new zip file on your Desktop, and now it is time to sign this file. Go to wherever you extracted your pre-kitchen and run it. Click on tools and tweaks (orange wrench)
Then click on sign a zip. You will get a prompt box telling you about the signing tool, just click ok.
Step 9:
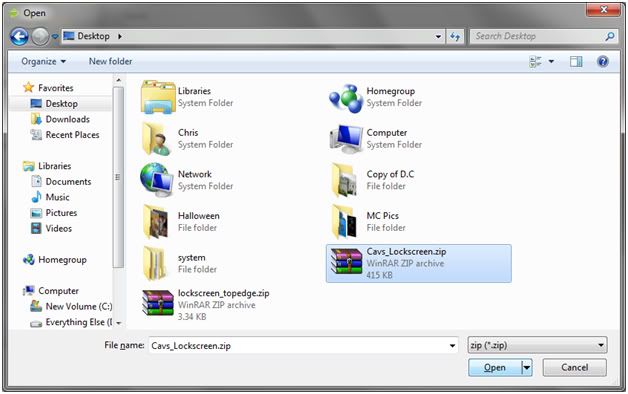
After clicking sign a zip you should now have a window asking you to Open a file. Browse to your Desktop, select your new lockscreen zip file you created in step 7 (In my case Cavs_Lockscreen.zip) and click open.
Step 10:
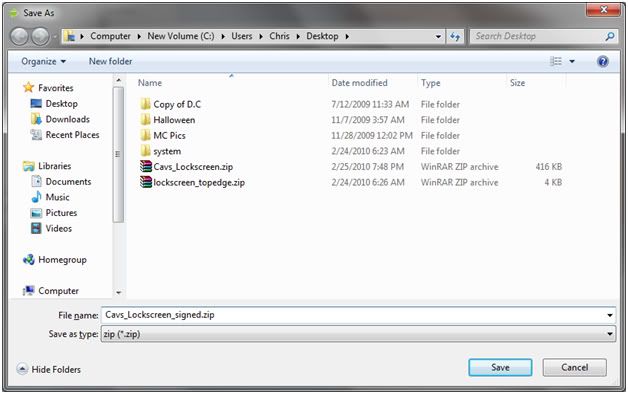
You will now get a prompt asking you to save your file. Name it the same as your zip, except add _signed to the end of it. So in my case my file name becomes Cavs_Lockscreen_signed.zip. Click save.
At this point pre-kitchen will do its thing and sign your file and tell you the Zip signed Successfully. Click ok.
Step 11:
You now have another file on your desktop, in my case called Cavs_Lockscreen_signed.zip. This is your signed lockscreen. You may now put this file on your SD card and flash it through Recovery. If you did everything right, after you flash the signed zip and reboot your phone all through recovery, you phone should reboot (let it do its thing, it might seem like it takes a second) and you should have your new lockscreen.
This concludes the end of the tutorial. I hope you enjoyed it and learned from it.
*Edit* If we can get a mod to sticky this, I would appreciate it. Thanks
***ATTENTION***
This is only for 1.5 ROM customization. It will NOT work on 2.0, or 2.1. Haven't tested it on 1.6 so I can't say for sure. For now, we will state that this is only for 1.5 ROM's.
***ATTENTION***
Tools/Files needed:
1. Photoshop or similar photo editing program. The files we edit/create will be in png format and if you want them to be clear or semi clear, you need to be able to change the opacity of them.
2. 7zip which can be obtained here
3. Pre-Kitchen which can be obtained here
4. HtcLockScreen.apk. Instead of having you pull your file, I have supplied one for you to download here. Make sure when you save this file, it saves as an .apk, do not let your system rename it to something else.
(Here is another link for those having problems downloading [thanks brian m for uploading elsewhere]) HtcLockScreen.apk
5. lockscreen_topedge.png. I have this hosted here for you. It is in a zip file, just extract it to your desktop.
(Here is another link for those having problems downloading [thanks brian m for uploading elsewhere]) lockscreen_topedge.zip
6. You will also need JDK installed on your computer. You can download it here.
Now for the good stuff, how to actually do this.
Step 1:
Open lockscreen_topedge.png (which is inside the zip filed) in Photoshop or whatever program you are using. The gray square box that you see is where the clock is placed on the screen. I haven’t figured out how to edit and/or remove the clock yet, so consider this a placeholder if you will. Kind of like a guide for how your image will line up. Create your LockScreen however you want. DO NOT RESIZE THIS IMAGE, DO NOT CREATE OUTSIDE OF IT, STAY WITHIN THE BOUNDARIES OF THE TEMPLATE
. I am not going to go into details of how to use Photoshop, that is on you. However, if you want your LockScreen to be semi-transparent at all, make sure you change the opacity of the image in Photoshop. When finished, be sure to save your image as the name of the template, which is lockscreen_topedge.png. Do NOT change it for any reason.Step 2:
Once you have your image, create a folder on your desktop called system. Inside that folder create another folder call app. Inside the app folder please place the HtcLockScreen.apk file.
Step 3:
Right click on HtcLockScreen.apk and choose 7zip>Open Archive.
Step 4: Once that opens, please navigate to res>drawable-480x320.
Step 5:
If you look at the files in there, you will see one called lockscreen_topedge.png. Simply click and drag your new image (which you saved and named lockscreen_topedge.png) into that window. You will get a prompt asking you to Confirm the File Copy. Click yes. This will overwrite the current file with yours. After you click yes, you may close the 7zip window.
Step 6:
Now that we have our new image into the apk, it is time to wrap this all up. Right click on your system folder that you put on your desktop in step 2, and choose 7zip>Add to Archive
Step 7:
You will now get a prompt asking you to name your Archive. Name it something that is relevant to your lockscreen. For example, when I made my Cavs logo, I called it something like Cavs_Lockscreen.zip. Make sure file type says Zip, not 7z. When finished typing the name, click OK.
Step 8: You will now have a new zip file on your Desktop, and now it is time to sign this file. Go to wherever you extracted your pre-kitchen and run it. Click on tools and tweaks (orange wrench)
Then click on sign a zip. You will get a prompt box telling you about the signing tool, just click ok.
Step 9:
After clicking sign a zip you should now have a window asking you to Open a file. Browse to your Desktop, select your new lockscreen zip file you created in step 7 (In my case Cavs_Lockscreen.zip) and click open.
Step 10:
You will now get a prompt asking you to save your file. Name it the same as your zip, except add _signed to the end of it. So in my case my file name becomes Cavs_Lockscreen_signed.zip. Click save.
At this point pre-kitchen will do its thing and sign your file and tell you the Zip signed Successfully. Click ok.
Step 11:
You now have another file on your desktop, in my case called Cavs_Lockscreen_signed.zip. This is your signed lockscreen. You may now put this file on your SD card and flash it through Recovery. If you did everything right, after you flash the signed zip and reboot your phone all through recovery, you phone should reboot (let it do its thing, it might seem like it takes a second) and you should have your new lockscreen.
This concludes the end of the tutorial. I hope you enjoyed it and learned from it.
*Edit* If we can get a mod to sticky this, I would appreciate it. Thanks


")